Tuesday, April 10, 2012

How to: Glitter Nails

I have an obsession with anything that sparkles. I think I have always been this way, but lately I have been embracing it more than in the past. I always put some sparkle on my ring finger, but it was never enough. Than I had an idea, maybe I wont use a glitter nail polish.I went to Michaels and found a 12 pack of very fine glitter, in all sorts of beautiful colors. I decided the first color going on my nails would be a lime green. You need a clean sheet of paper, a top coat, glitter, and some toothpicks, to correct your mistakes. Paint one nail at a time, first with your top coat, then sprinkle glitter all over your nail (do as much as necessary, you have the paper underneath you which you will use to put the extra glitter back into the container), shake the excess off onto the paper, then go around your nail with a toothpick getting the remaining glitter sticking to your skin, do to each nail, when they have dried put your top coat on and you're done.


Monday, April 9, 2012

Low Calorie Mozzarella Sticks

I love finger food, chicken wings, nachos, ribs, and mozzarella sticks. So another attempt at making a greasy snack healthy, mozzarella sticks. I had a girlfriend over and thought it would be a good time to try out this appetizer. I used this recipe and it turned out good. Now if I were to make them again I would use a regular string cheese and not the reduced sodium, yes it would make it a couple more calories, but so worth it.
I am at the last couple chapters of Mockingjay , the last book to the Hunger Games trilogy, so once I am done I will return to my posts about DIY and beauty.


Friday, April 6, 2012

Foodie Fridays


I have been trying to change my diet since my husband left and its definitely working. The next recipe on my list was baked empanadas. Growing up I would eat these every now and then, but they were usually fried, not baked. However, I welcomed the idea of a baked empanada, as I like baked wings over fried ones. It was everything I had wanted, the shell was crunchy and flaky, the meat was tender and bursting with flavor, and the cheese was the icing on the cake!


Thursday, April 5, 2012

Sultra Bombshell Iron- My New BFF

I love when I curl my hair, its my go to look. I use a straightener to do it and it takes mere minutes to curl my whole head of hair. The only problem was that I felt the curls were too tight and never really relaxed into the beachy waves I wanted. That was, until I met my new go to iron, the Sultra Bombshell, it was everything I wanted in an iron. It doesn't have a clamp so you wont get those marks in your hair, you start curling your hair at the top so that the bottom, more damaged, parts of your hair are last to be curled and wont have too much heat on them.


Wednesday, April 4, 2012

Everyday Makeup


I love everything about makeup. I love that it can give you that boost of confidence, it can conceal all your imperfections, it can make you look as fresh as a daisy, when you really have been up all night. This is my daily makeup routine, it takes me about 5 minutes start to finish, I can probably do it with my eyes closed at this point.  I love each and every one of these products, I do switch up a couple things depending on the season, use a different blush, a different lipstick etc. I sometimes skip step 4, depending on my mood.

1) I apply my mineral veil primer all over my face and neck.
2)I apply my Make Up Forever HD foundation all over my face and neck.
3) I use two concealers my Laura Mercier Secret Camouflage and my Make Up Forever 5 Camo Cream Palette. I make a straight line from my tear duct down to my nostril, then a diagonal line from my nose to the corner of my eye, making a triangle. I use a light color at first and then go over it with a darker concealer.
4) I use my NARS bronzer at the hollows of my cheeks to give them definition and at my temples. 
5) I use a cream shimmer on my cheek bone starting from the corner of my eye and back, this will catch the light and give me a dewy fresh look. I then cover the cream shimmer with my MAC iridescent powder.
6) I take an angled brush and put some white cream eyeshadow on the inner corners of my eyes and I go over it with my Make Up Forever diamond powder.
7) I put a couple coast of the Dior mascara on my upper lashes.
8) I put my NARS blush on my cheeks, starting below the arch of my eyebrow.
9) I put some lipstick on.
10) I spray my face with Urban Decay Setting Spray. 

Tuesday, April 3, 2012

DIY Gel Manicure

I love when I can save money by doing things myself. I do my own makeup, style my own hair, I made my own headboard, I paint my houses, I do a lot of things myself in order to save money. I got my first gel manicure over the summer and loved how it lasted so long. After watching the lady do my nails, I thought, I could do that. So I went online and bought all the products, and I have saved over  $500! (gel manicures $30, every two weeks for the past 8 months, plus tip. I now want to share one of my beauty secrets with you. 


First coat your nail with the Ph gel bond.

Apply one coat of the foundation onto your nails.

Put your nails under the curler for 1 minute and 30 seconds.

 Paint your nails the color you would like.  And again put under curler for 1 minute.  (I did this 3x)

 I like to add some sparkle to the ring finger :)

 Apply top coat to nail and put it under curler for 3 minutes this time.

 When you are all done get a cotton ball soaked with rubbing alcohol and rub the ball all over each one of your nails, this will set the whole process. 


There you have it, you now have a manicure that will last 2-3 weeks and is instantly dry and you can go about your day!


Monday, April 2, 2012

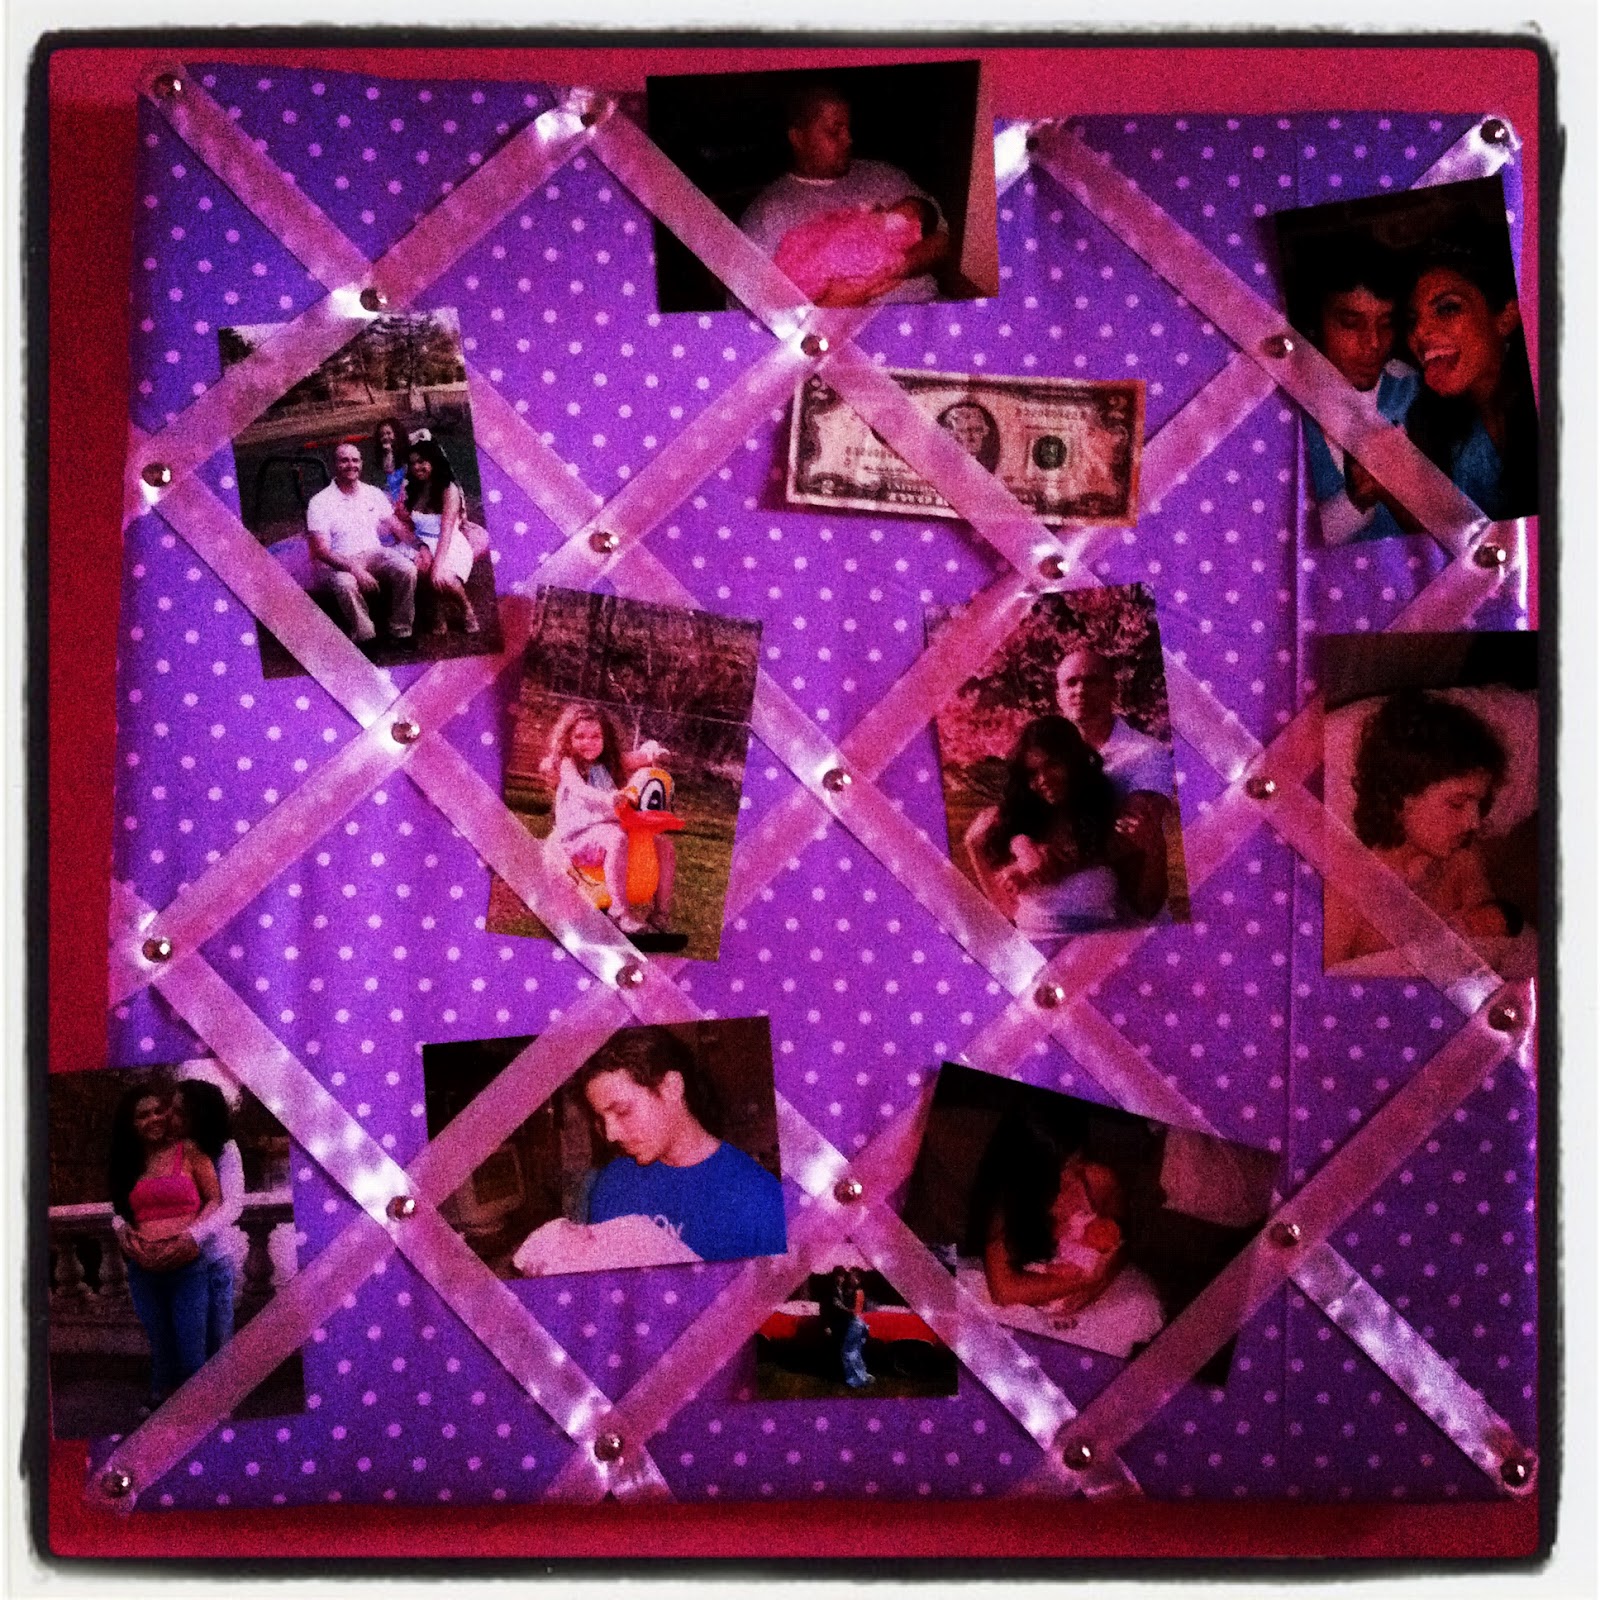
Purple Paradise

Truth be told, I love ANYTHING that's tufted. That being said, when it came to making some sort of wall decoration for my daughters room I knew what it would be. I have picture frames hanging all around the house, so I wanted something more personal for her room.
I went out to Walmart and picked up this 4pc cork ($4.97) 45x60 inch batting ($7.48) white silky ribbon ($1.97) and this pretty purple and white polka dot fabric ($4.94/yd)


I then duck taped the thing around and around to make it hold up better once I put the batting on. 


I laid out my batting and used a staple gun to attached it to my cork board. I was able to put 3 layers of batting on, I used the whole 45x60 batting on my 24x24 piece. 


The next thing to do was add the fabric, you need to pull the fabric tightly around the board so that it doesn't look wrinkled when you flip it back over.

Cut off all the extra fabric from the staple on.


Now it was time to make my bulletin board beautiful, I got these decorative nails on amazon for $6.00. 
  

I laid out the ribbon so that everything looked even, and I started  putting the nails into the board to give it that tufted look.

There you have it! It took about 30 minutes start to finish. I hope she likes it as much as I do. I plan on making another one for my room!